You will edit 16 of your Portrait photos. Please use at least 7 of the "vintage" style adjustments listed below. Please make sure you save your work using the "vintage" name at the end. On Tuesday the 20th please turn in a Portraits Adjusted CS along with your Best Picture (this pictures might NOT be the one in the display case).
Article:
Why We Love Instagrams from Macworld
Photoshop Actions:
"Nashville" Instagram Tutorial
Instagram Video Tutorial
Cross Processing
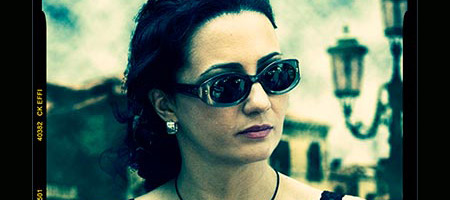 Cross processed photographs
are recognisable from the unusual colours and tones in the final shot.
The effect was originally produced from developing the photographic
film using the wrong mix of chemicals. Nowadays, a cross processed
style can be simply achieved in just a few steps.
Photoshop Support shows us how.
Street Photography
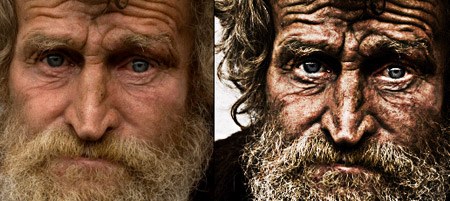
One of the most recognisable street photography shots is
‘Homeless Mike’ by
Leroy Skalstad. The gritty, high contrast style of the image really emphasises the nature of street life. Recreate a similar image with this
Dramatic Gritty Effect by Photoshop Frenzy.
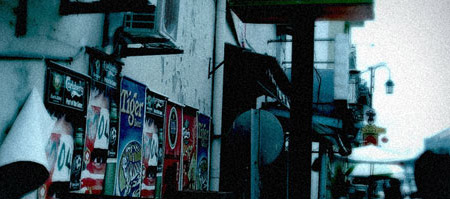
Lomo Photography
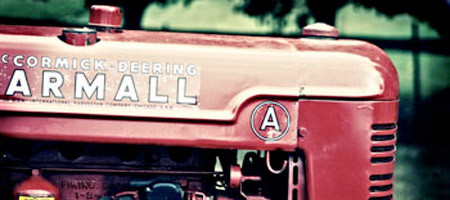
The Russian made
Lomo LC-A camera
was manufactured a cheap alternative to the higher quality Japanese
rivals. It was poorly made and the photographs it produced were just as
bad, however as time passed popular culture brought the mis-coloured
shots from the Lomo camera into a whole new light, which is now a very
sought after effect. Not everyone has the opportunity of trying out the
original camera model, but
Digital Photography School has some great tips on mimicking the effect in Photoshop.
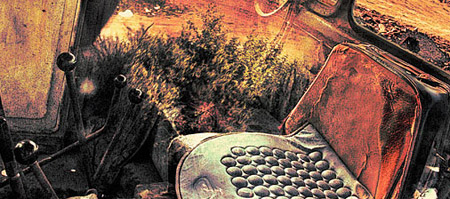
Vintage Photo Effect
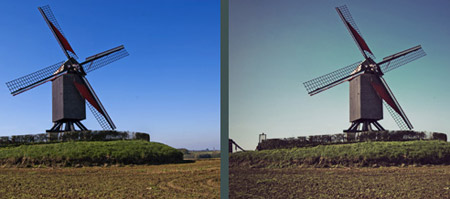
With limited technology the early
colour photographs
often had poor colour reproduction, with shots having an obvious
colour casts and inaccurate tones. Today the effect can transform a
photograph, instantly sending it back in time to give the impression of
an aged effect.
Veerle takes us through some techniques for producing a vintage style photo using a few simple Photoshop tweaks.
Tilt Shift Photography
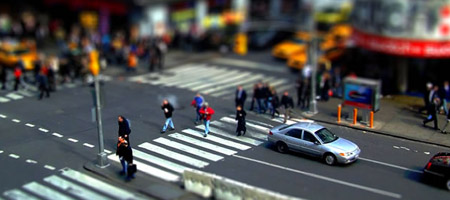 Tilt Shift
is a photographic technique where the image plane is rotated, giving a
very shallow depth of field but maintaining sharpness in a specific
area of the shot. One of the popular post processing effects related to
tilt shift photography is known as miniature faking, where the depth
of field manually added to a shot gives the illusion of tiny model
figures and sceneries.
TiltShiftPhotography.net has this fantastic overview of creating the effect yourself.
The Velvia Effect
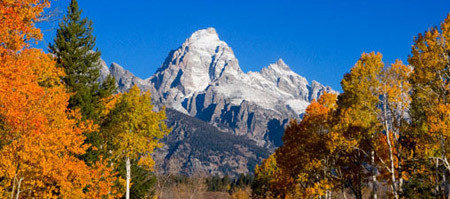 Fujifilm Velvia film
created highly saturated, largely contrasting and extremely sharp
images, which made it particularly popular with nature and landscape
photographers.
PSHero takes a look at using modern day Photoshop techniques to recreate the Velvia effect.
Dark Grunge Photo Effect

The term
grunge
has evolved from the music genre also known as Seattle Sound,
characterized by stripped down sounds and heavily distorted guitars. The
term grunge also made its way into photo post processing, where the
key features are muted colours and large areas of texture and grain.
PSHero has
this excellent tutorial for creating your own dark grunge photo effect.
HDR Photography
 http://still-scripts.com/photoshop/faking-the-hdr-effect-using-only-one-photo-and-photoshop/
High Dynamic Range Imaging
http://still-scripts.com/photoshop/faking-the-hdr-effect-using-only-one-photo-and-photoshop/
High Dynamic Range Imaging
is a photography technique that produces an image with a much larger
range of luminance between the darkest and lightest areas, making it
much closer to the spectrum seen by the human eye. More recently the
effect has been pushed to the max, with heavy tone mapping producing an
abstract and highly stylised photo effect. The genuine effect is
created with various RAW images and processing software, but the
Nill Photoalbum has this great tutorial for producing a similar style directly in Photoshop.
Movie Photo Effect
Alongside post processing, the video filming of movies often involves a range of camera filters.
Ebin
has this fantastic tutorial for creating a polished movie-like effect
complete with diffusion glow and temperature tweaks in Photoshop.


